
TR-808 SPICE Simulations
Simulations of various Roland TR-808 drum machine circuits using the LTSPICE circuit simulator. Then exporting the resultant *.wav files into Audacity for further post-processing and playing.
TR-808 SPICE Simulations.
I wanted to try further simulations of electronic music circuits using the LTSPICE circuit simulator. One main motivation for this is to assist me in the development of some electronic-music circuits. Initial example simulations are based on the Roland TB-303 bassline synthesizer (see previous blog and related video), and the Roland TR-808 drum machine. This blog outlines the main stages for simulation of various TR-808 circuits. It also relies heavily on exporting the simulation results into Audacity, for further post processing, and subsequent monitoring of the audio output.
The steps below concentrate mainly on the bass drum circuit. However, images of other circuits are also provided in the linked video.
There is a Link to a YouTube video at the end of this blog. The video explains the procedure further, and also provides brief examples of some audio outputs.
When I get the chance, I want to attempt to create some drum and some bass sequences using the simulated sounds. Hopefully, I will create some videos of this as well (see.... in the future TR-808 simulations Part 2 and Part 3).
Part 1: Obtaining the Service Manual Schematics
Initially, I checked online and managed to obtain the service manual for the Roland TR-808. This manual contains some of the schematics for the main voice / tone generator circuits. Two of the key schematics are shown below. Note: I only concentrated on simulation of the voicing circuits, and didn't create the sequence control circuits. These circuits were modelled using signal sources in the LTPICE simulator.
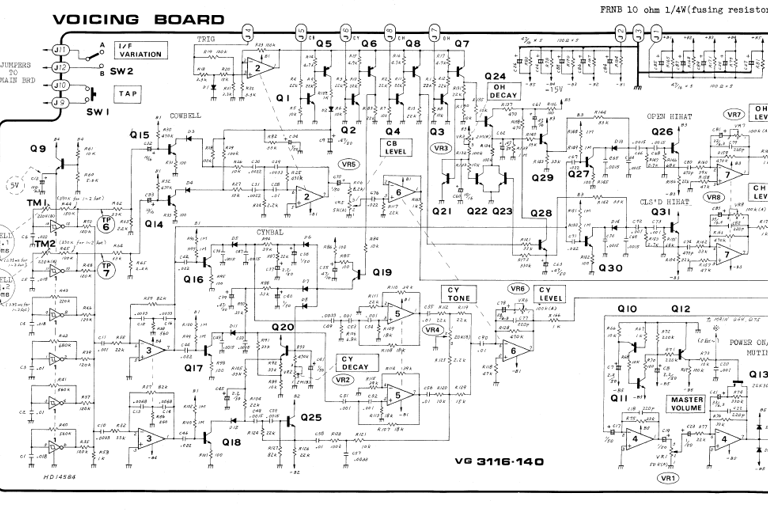
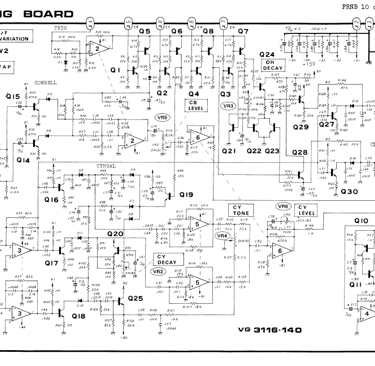
Step 2: Identifying Different Parts of the Circuit
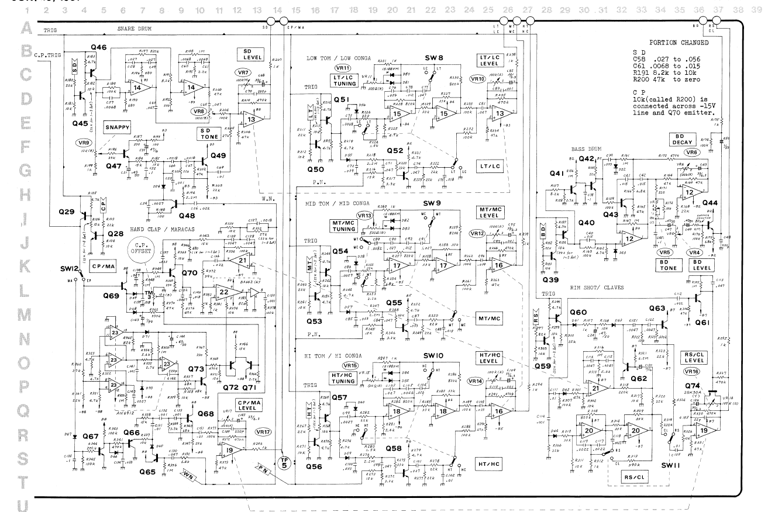
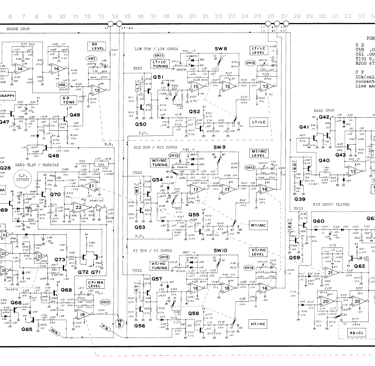
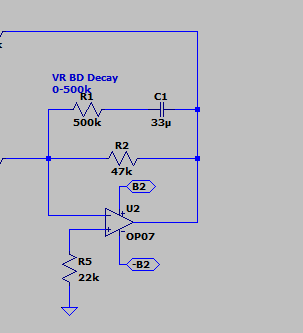
After investigating the schematics, I managed to identify different circuits that were responsible for different drum machine sounds. For example, bass drum, Hi Tom, Hi Hat etc. For this blog, I'll just concentrate on the procedure for the Bass drum. The Bass drum section of the schematic, is shown below.
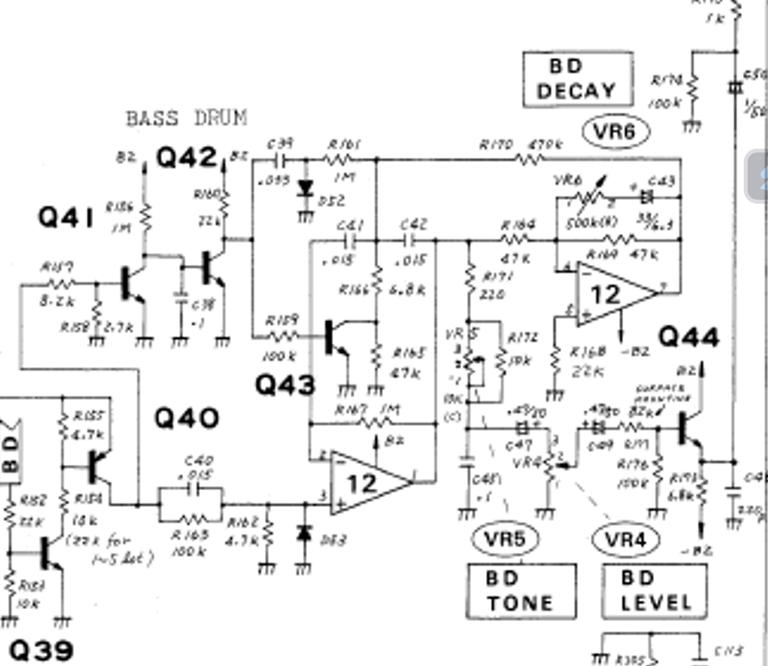
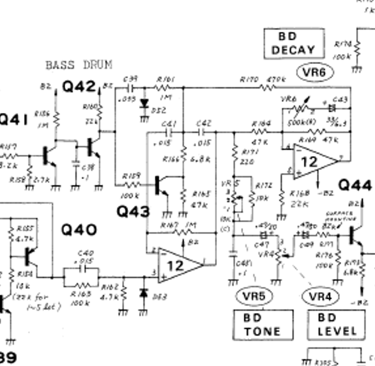
From the schematic you can clearly see labelled elements, to control the bass drum, decay, tone and level. These features could be altered by changing an associated resistance value. This could be carried out easily in later simulations. Note also, on the left side of the schematic there is an input labelled BD, this input enables the Bass drum circuitry. There is also a second input (not shown) that triggers the Bass drum.
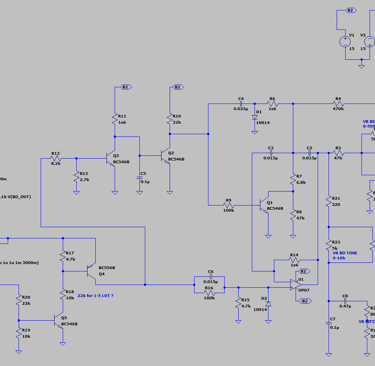
Step 3: Converting Schematic to LTSPICE
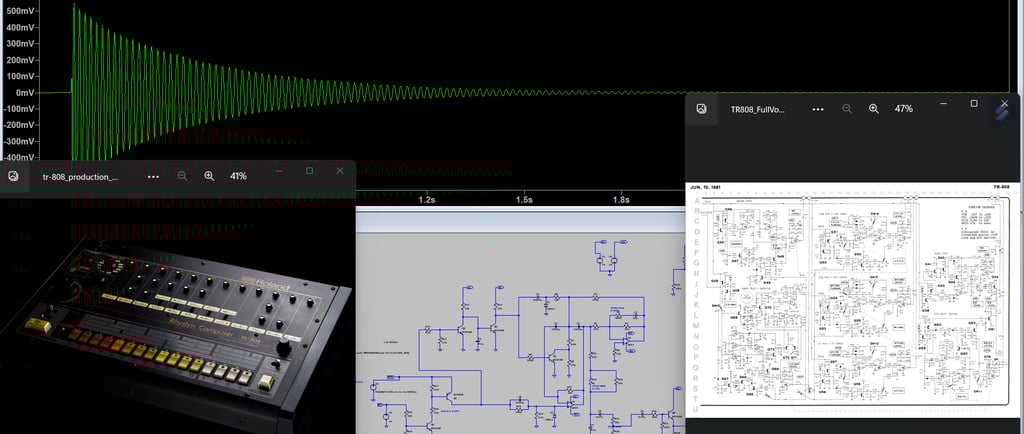
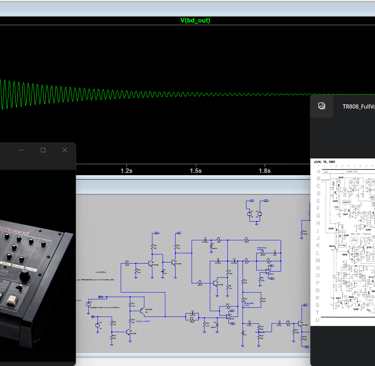
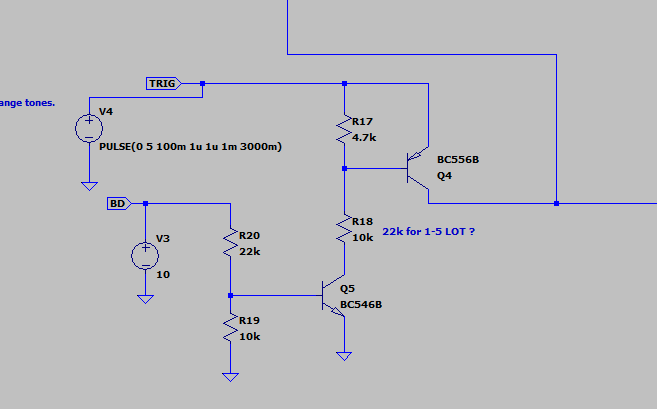
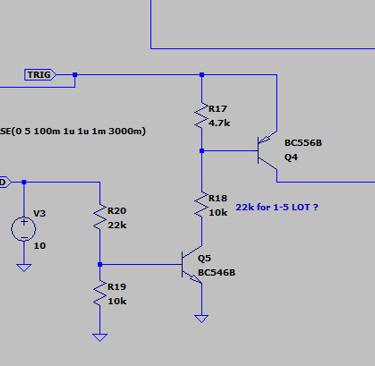
The circuit from above was then converted into an LTSPICE schematic. This circuit would allow the drum circuit to be simulated. The LTSPICE schematic is shown below.
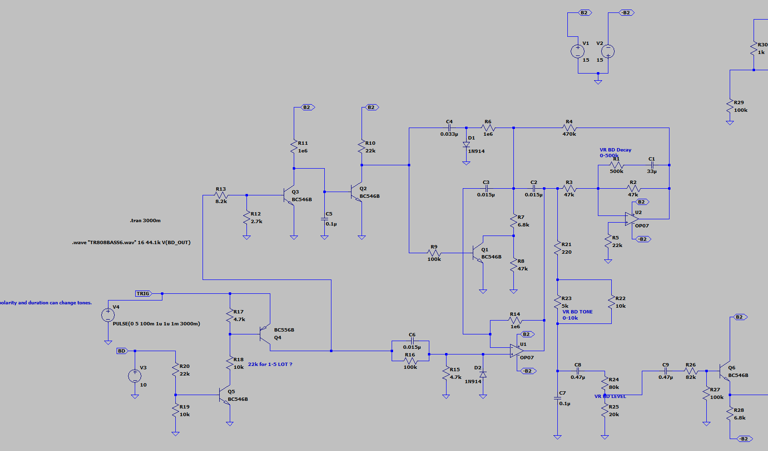
The trigger input source and the enable input source can be seen on the left of the schematic. The trigger circuit and the decay circuit are shown below. A pulse source was used for the trigger circuit, and it is useful to note that interesting tones / sequences could be obtained by altering the trigger values, from what would be possible with the original TR-808 circuit.

Step 4: Simulating the Circuit
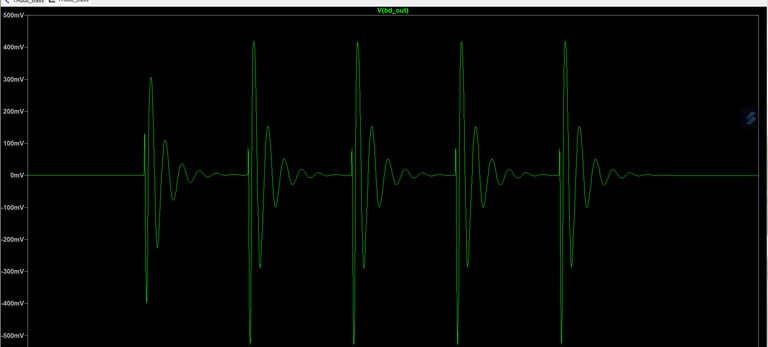
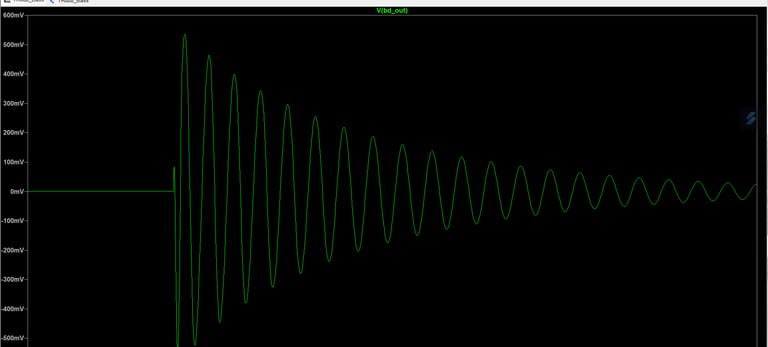
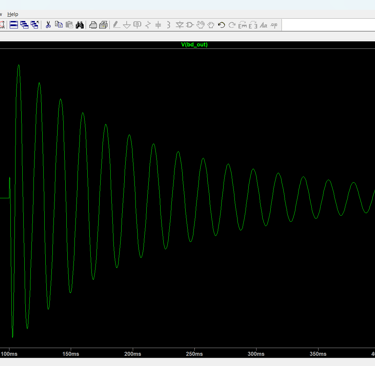
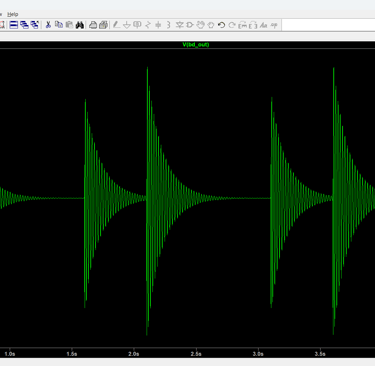
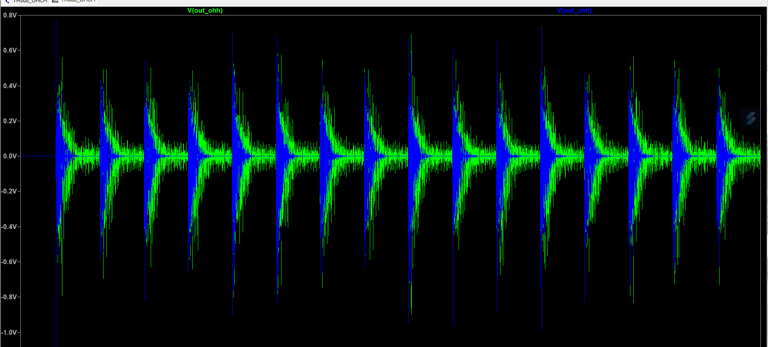
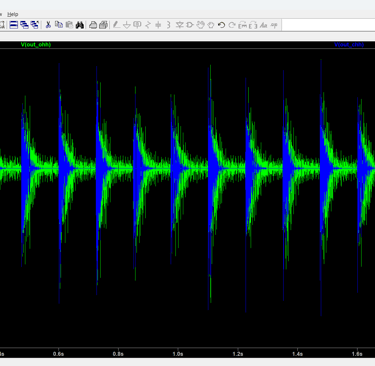
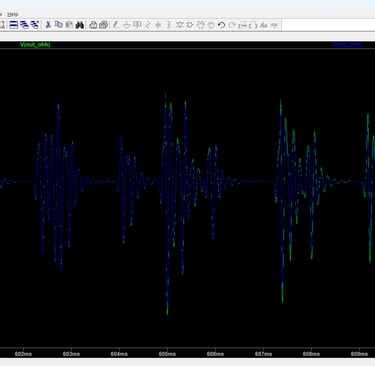
Simulation of the circuits was carried out with various settings. Settings, such as the input trigger period, tone and decay were altered and run for different simulations. Also, luckily LTSPICE has a directive that allows selected waveforms to be exported as *.wav files. An example directive to do this should be visible on the left of the LTSPICE schematic, for the full bass drum (above). Note: it should also be visible in the last blog, and also on the videos. Some example simulation plots are shown below. The first three are for the Bass drum, and other plots show the open and closed hi-hat.


Step 5: Importing LTSPICE outputs into Audacity
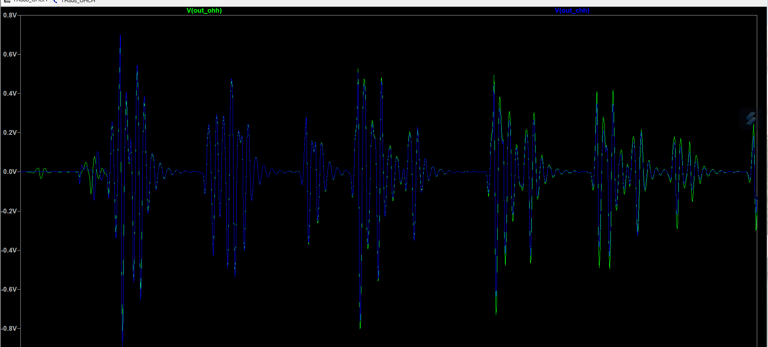
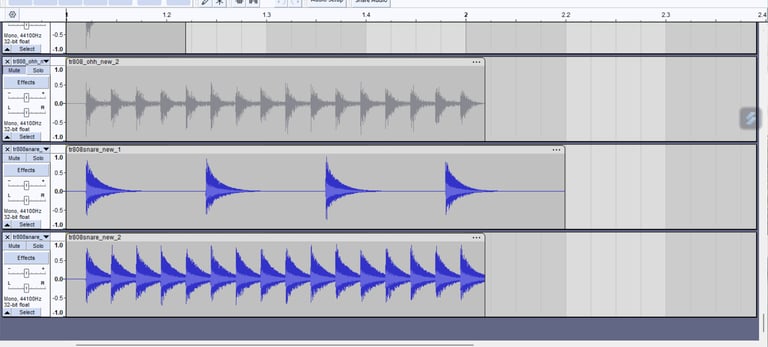
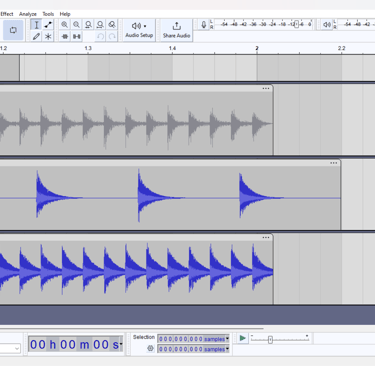
Finally the LTSPICE outputs were imported as a *.wav file, into Audacity. This allowed further post processing to be caried out on the waveforms. The waveforms could also be listened to. In addition, the waveforms could be played at the same time. A screen shot of some waveforms after import into Audacity is shown below.
Step 6
After carrying out the above, a video was made of the process. The video also provides some example of demo sounds from the simulations. Most of these seemed OK apart from the Cowbell sound, which possibly needs the signal sources altering. Later on I am planning to construct some bass and drum sequences from the simulations. Note: the video also highlights circuit elements such as the main Transconductance amplifier.
The video link is provided below.

Repeated Bass drum with short decay
Bass drum with long decay
Repeated Bass drum with medium decay
Repeated Open HiHat and Closed HiHat
Zoomed Open HiHat and Closed HiHat
Help me proceed with anything on this site.
If you like what I'm doing, please feel free to support me and keep this site alive.