
Korg NTS-1 MK2 Build n Try
Some clips of building the Korg NTS-1 MK2 and a first try out before trying to develop some custom oscillators.
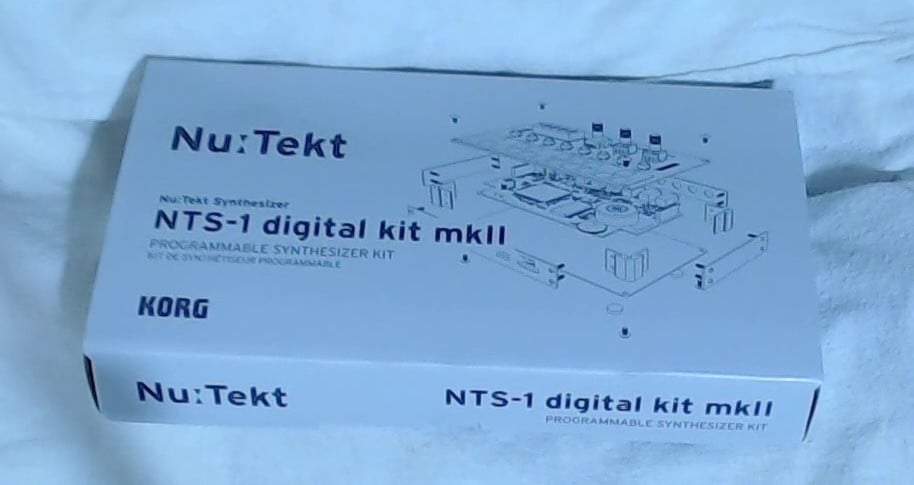
I recently got a Korg NTS-1 MK2 as a gift (after some hinting)
I liked the look of this synth, especially as it has the option to be used as an effects processor as well. It also gives the user an option to write custom code for oscillators and effects. Hopefully, when I get the time, I will get round to writing some custom code.
I also have a Ksoloti Gills synth as well, that is a similar type of thing (shown on previous blogs and videos), but the NTS-1 MK2 also looked very interesting.
**** For the future.... Some links to the Korg NTS-1 MK2, including the logue-sdk (programming kit) are here.
A good link about making custom effects for NTS-1 (for MK1 but also applicable to MK2)
https://www.korg.com/uk/products/dj/nts_1/custom_effects.php
How to install the development kit and compiler under windows is below.
https://korgnts1beginnersguide.wordpress.com/setting-up-the-development-environment/
Project Resources – Embedded Music Signal Processing on the Korg NTS-1
****
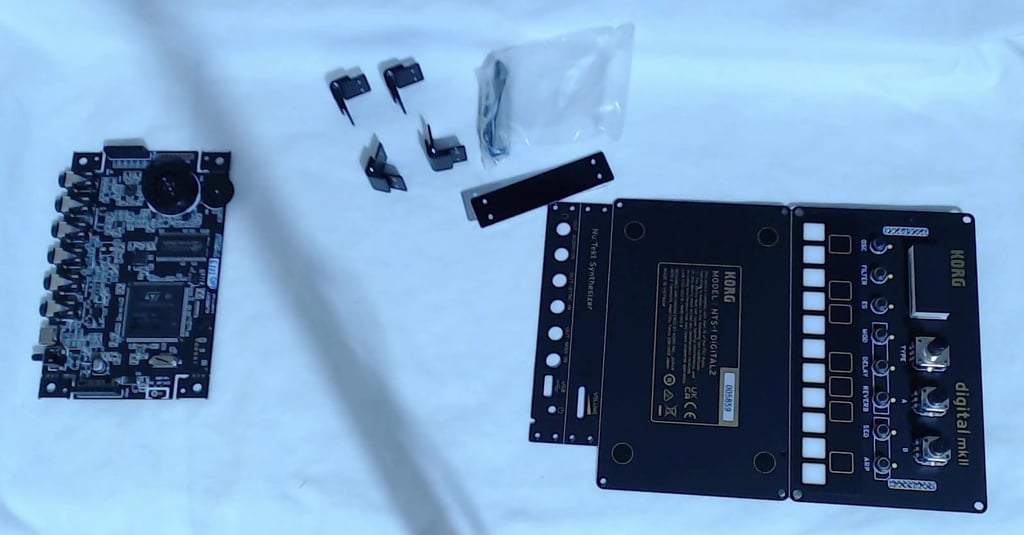
You have to build it yourself, but no soldering is involved, you just have to assemble the various boards into one unit. The following pictures outline the build process and also link to a video that provides some sound demos as well.
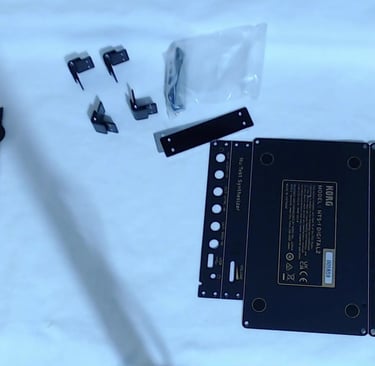
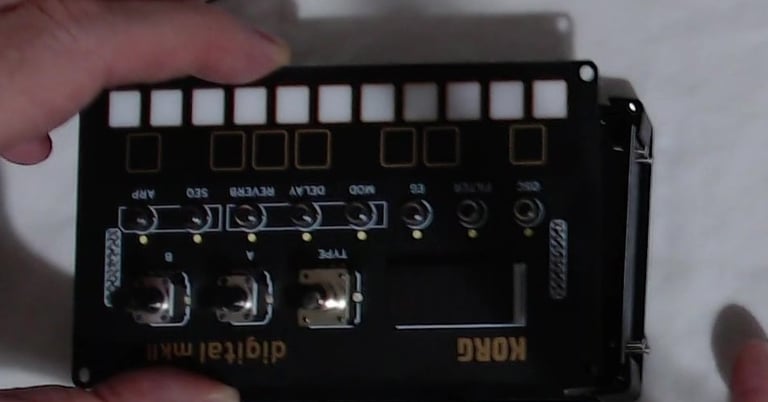
Main components
After unboxing, the main assemblies are as follows.... (from left to right).
Main board - includes the main processor, connectors speakers, etc.
Corner posts, end panels, and screws.
Top, control and display panel, side panels and bottom panel :. NOTE: these are supplied as one unit, with score lines to allow you to carefully bend and separate them. Be very careful when doing this, so as not to damage the components on the top panel.
Separating the boards
When separating the boards try to gradually weaken them along the score lines, before finally separating them. Try to work close to the score lines and avoid applying pressure to any of the attached components.
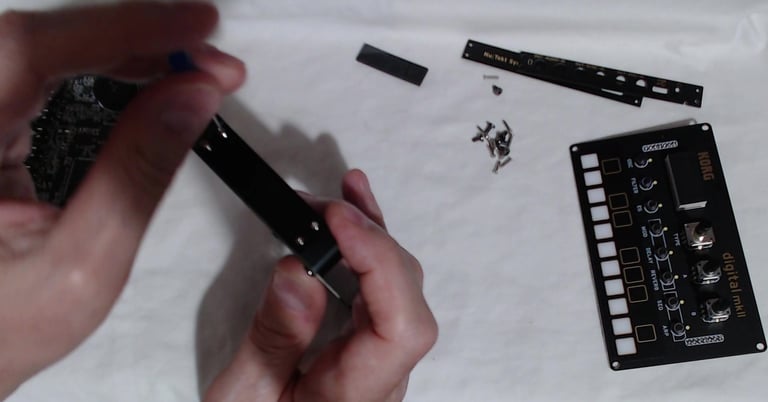
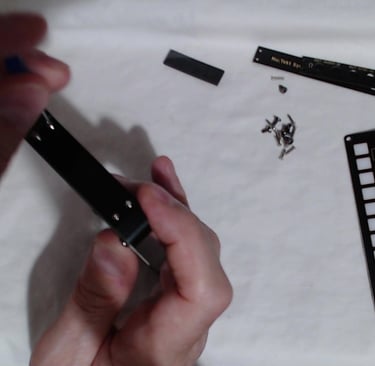
Fixing corner posts and end panels
Fixing the corner posts is pretty fiddly, make sure that you don't cross thread anything. Also, its a good idea not to tighten any of the screws up fully before it is finally assembled. i.e, leave a bit of 'play' to allow for final alignment.
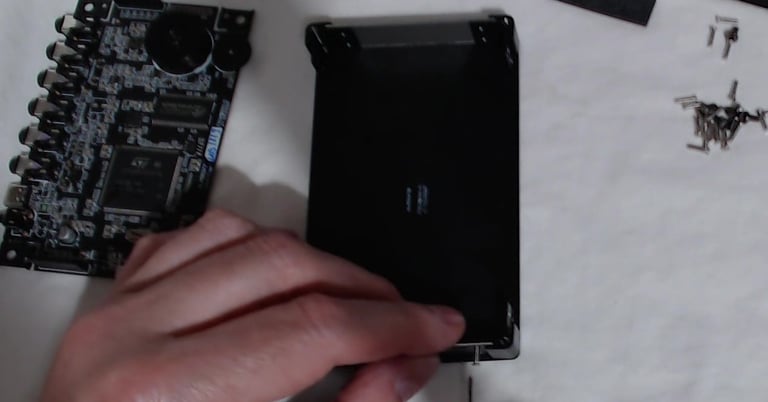
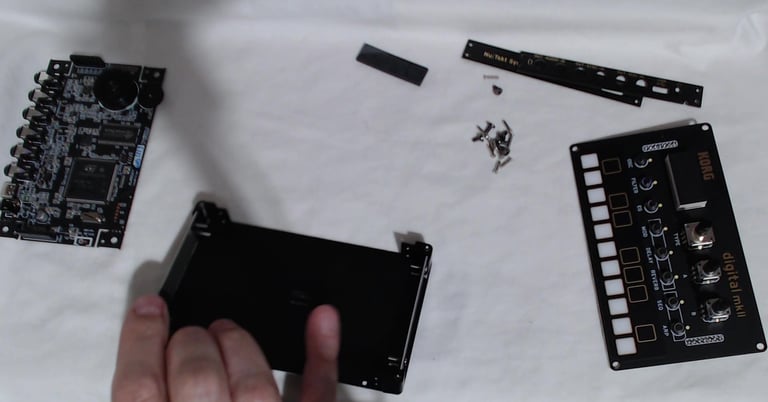
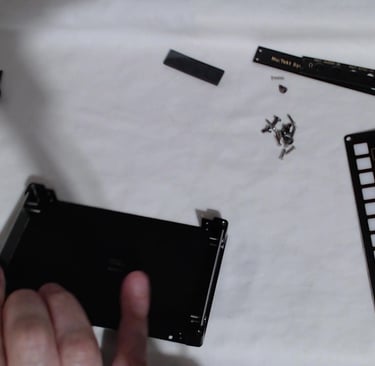
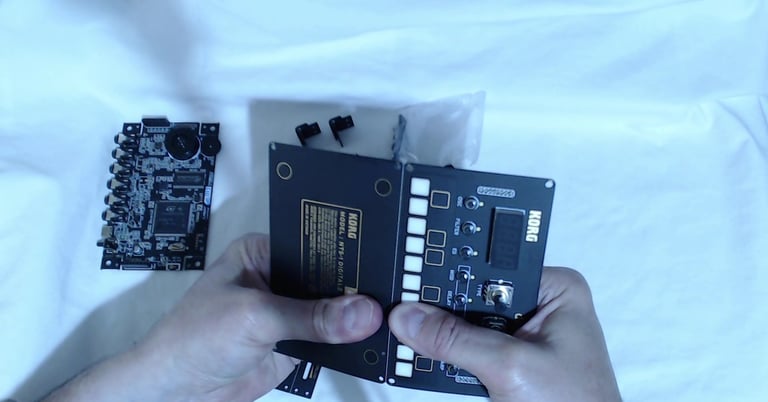
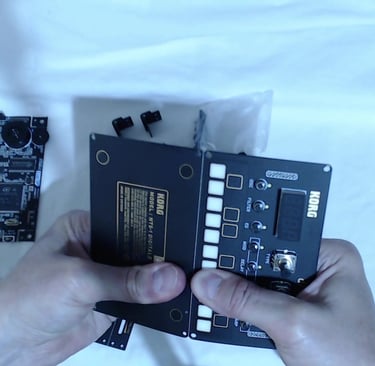
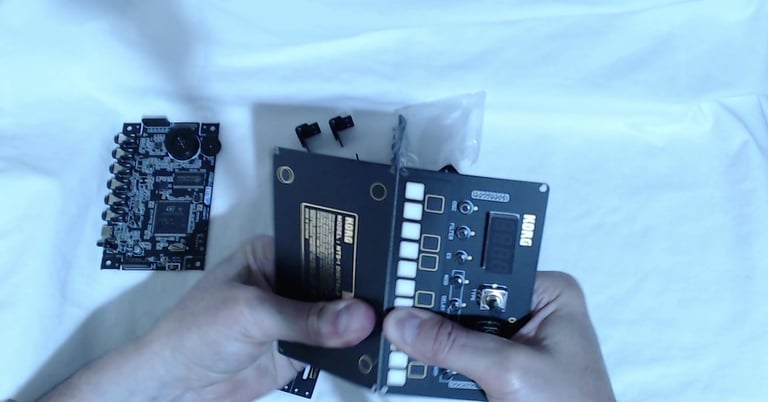
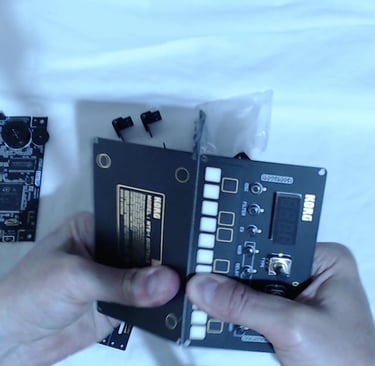
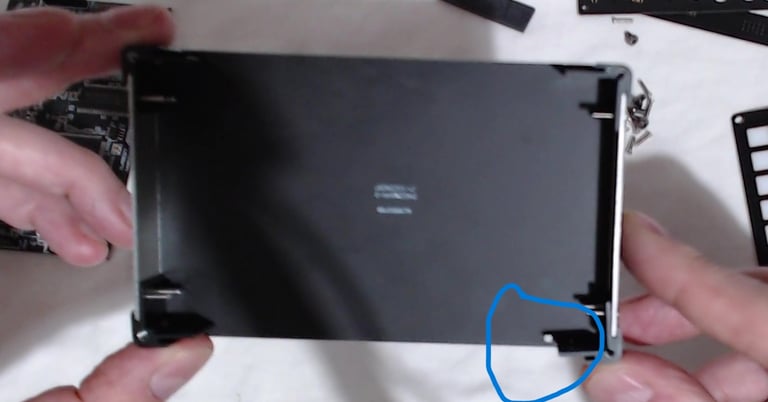
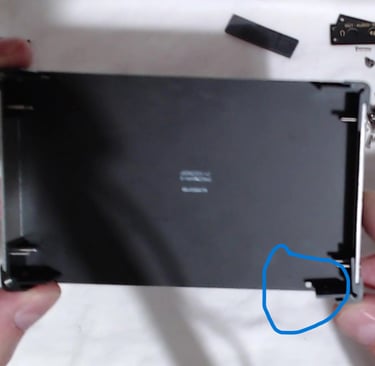
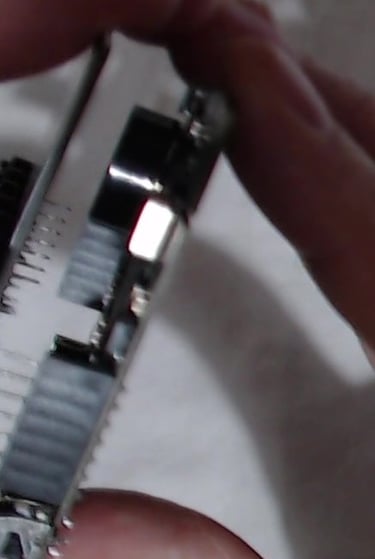
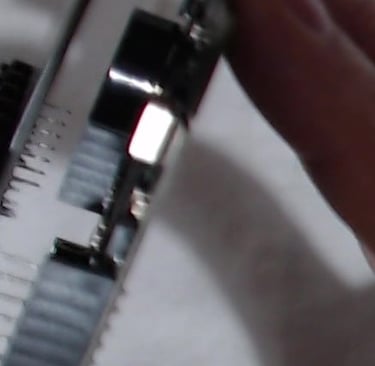
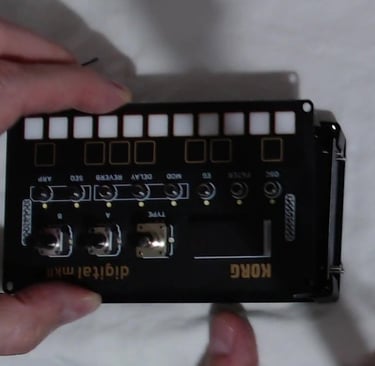
Assembling component boards and fitting into base
Note: there is a cut-out on the boards to indicate correct alignment during assembly.
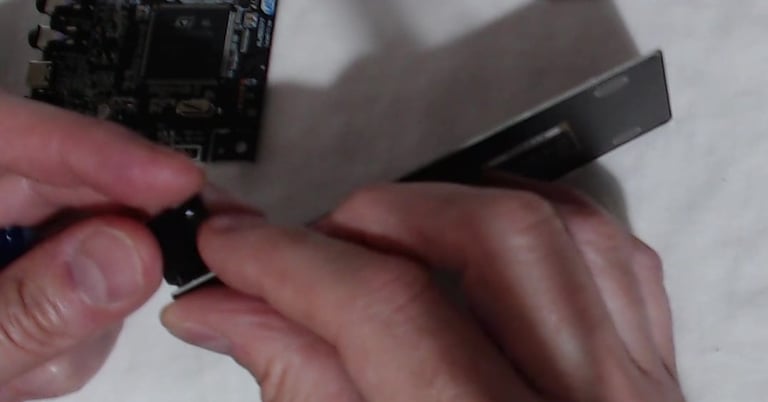
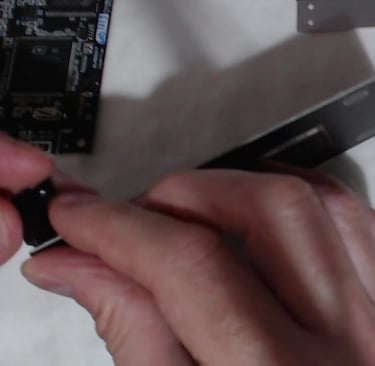
The top control board and the main board are connected together by pin-headers. Take care to align the pins correctly when assembling the boards.
Also: When placing the assembled boards onto the based board, I found it was best to keep the end panel screws backed-off quite a lot, and the corner post screws loose. You can tighten everything up when it is all assembled.
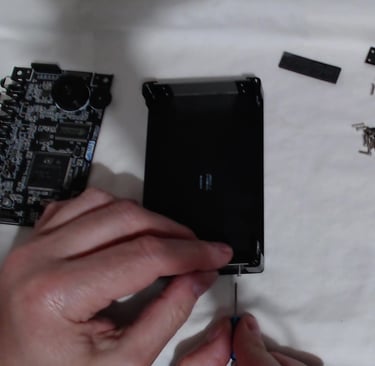
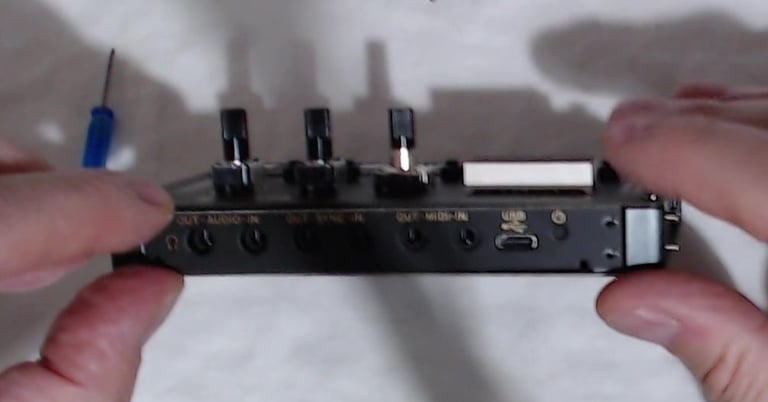
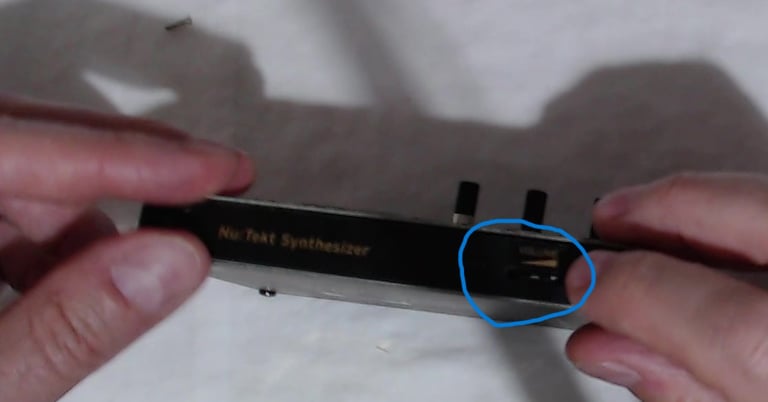
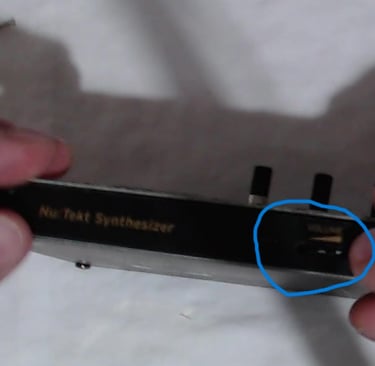
Fitting front and back side panels
These panels are relatively easy to fit, but make sure that they align with the connectors, volume control and on-off switch before final tightening of the assembly.
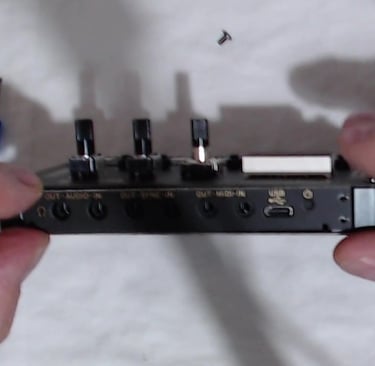
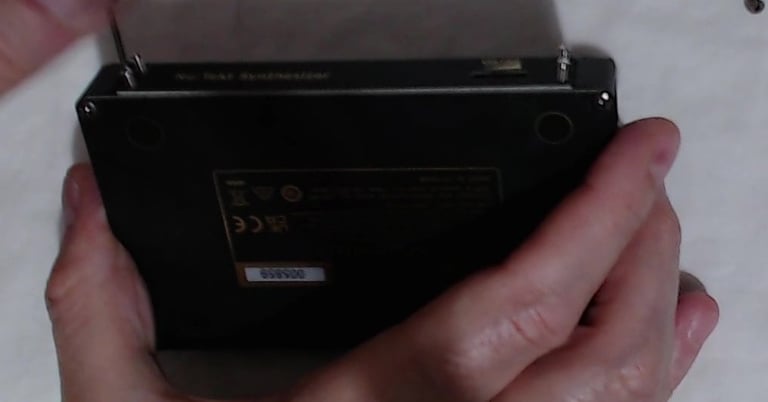
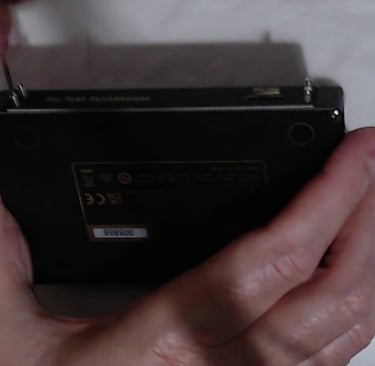
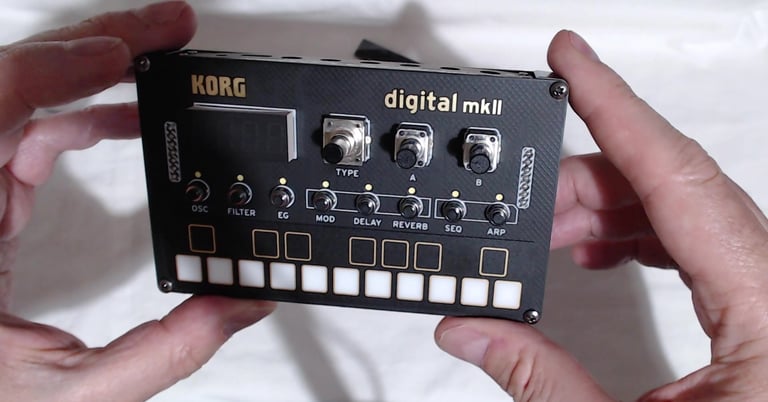
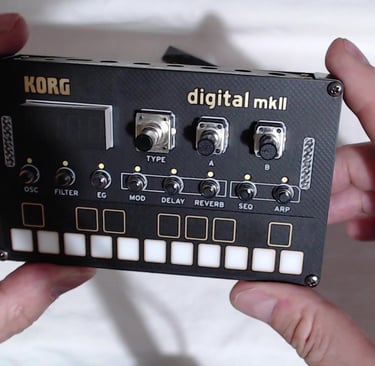
Final fixing and final unit
Once everything is assembled, tighten all the screws whilst taking care that all of the parts remain in alignment.
Trying it out
The NTS-1 MK2 comes pre-loaded with some synth, oscillator and effects engines. But you can also download other ones to install onto it from the following locations.
https://korginc.github.io/logue-sdk/unit-index/korg_examples/
https://github.com/tweeeeeak/nts
There is a pretty good Korg Volca Bass emulation on the last link.
You also need the Korg control editor software to load the various synth modules onto the NTS-1 MK2
https://www.korg.com/uk/products/synthesizers/nts_1_mk2/editor.php
Videos of the build process and various initial sound try-outs are linked below. I'll try and do something better when I get the chance. Please like, subscribe, comment, support etc etc, if you can.


Help me proceed with anything on this site.
If you like what I'm doing, please feel free to support me and keep this site alive.