
Home built gear 1:
Sunday build: Ksoloti core and Gills pcb

Home built gear 1:
Sunday build: Ksoloti core and Gills pcb
I was looking for a multi-purpose reconfigurable type of unit that I could use as an extra effects processor, sampler, and stand-alone synth. I also wanted the option to integrate with modular gear.
The Ksoloti core looked to be a good option, and along with the Gills mother board it all seemed like it would fit the bill.
I usually prefer to build and design my own electronics gear from scratch. Usually based around ARM micros, ATMEGA / Arduinos, MOZZI and custom code. Also wit some analogue circuit builds and Simulations. However, I'm not averse to building from kits and development modules, if they can provide the right functions. If you are a kit provider and want one building and demoing along with build instructions (more professional than the one that follows!) give us a shout and send me the kit.
Anyway, after looking at the Thonk site (Ksoloti – Gills – Full DIY Kit – Thonk – DIY Synthesizer Kits & Components ), I noticed the Gills kit and I thought it could meet my requirements. I followed this up and looked at the Ksoloti site (About – Ksoloti) and seemed to confirm my first thoughts.
It also looked like the Ksoloti patcher software was quite versatile, the I/O’s were good and there would be a possibility of developing custom firmware in the future if desired (although with the versatility of the patching software and associated examples it probably wont be done).
Note, there is also a full modular motherboard for the Ksoloti core called the Big Genes (Big Genes - Ksoloti ). I was very tempted to get this, but I really wanted something that could be used stand-alone, if required.
Just out of interest, I think that the Gills and Ksoloti core may have more processing power than a lot of the 80’s digital synths I have and have used…… Time will tell on this one. I still like using the original gear though.
So……. I decided to order the Gills full DIY kit and the Ksoloti core board from Thonk.
I ordered it late on Friday morning.
It arrived mid Saturday morning and was well packed.
Top marks to Thonk on their delivery.
I was then going to put the kit aside for a ‘Rainy day’ build (AKA put in cupboard and find ten years later after forgetting what it was and why you got it).
Fortunately…. Started building it midday on Sunday.
Took me about 2hrs to build not including breaks, so I had it finished by about 4 pm.
I followed the excellent build guide on the Ksoloti site (Gills Build Guide - Ksoloti ).
The build guide consisted of a comprehensive animation. I usually prefer a text based instruction manual, but the animation worked really well.
Top marks to Ksoloti.
I’m quite an experienced builder, but I think that a novice could probably complete the build in about a day, as long as they follow the instructions carefully.
All the surface mount components were already in place, which was really good. I reckon that it would have taken me at least another two to three hours to put them on.
Note to myself. I did use lead solder, as I couldn’t find my un-leaded immediately, and was too lazy to look for it. (Tut-Tut, but even though I think the finished product looks tasty, I’m not going to lick it).
There was only one very minor niggle in the build and this was the placement and alignment of the CV expander board….. not really a problem but it was tricky to get the board to sit level. I was going to make some spacers, but I wanted to finish the build, so ended up soldering one header pin and then re-flowing the joint whilst I aligned the board. There may be an easier way, and perhaps I missed something in the instructions.
The pictures show an outline of the build process. They are not build instructions, as these are already very well provided on the Ksoloti site.
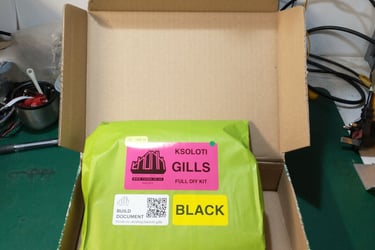
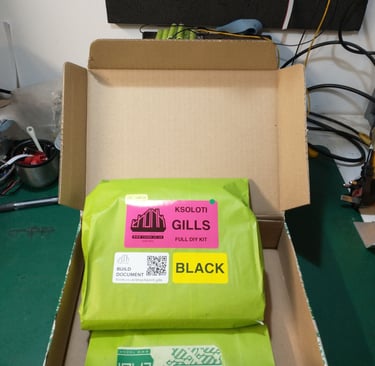
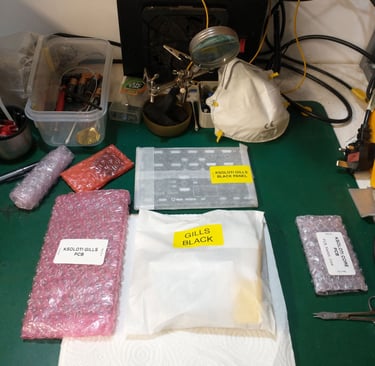
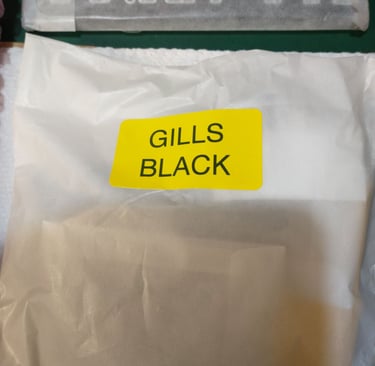
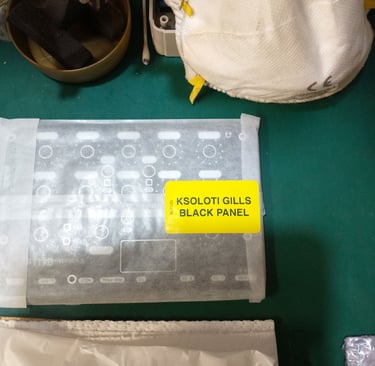
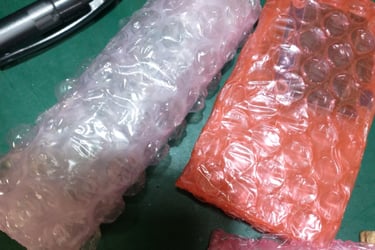
What's in the box.
Two bags:
One containing the Ksoloti core board.
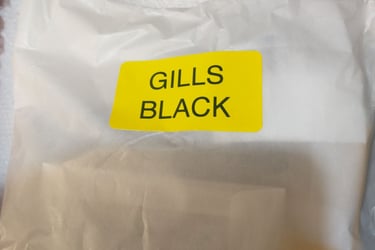
One containing all the bits for the Gills (boards, components, enclosures, and hardware.
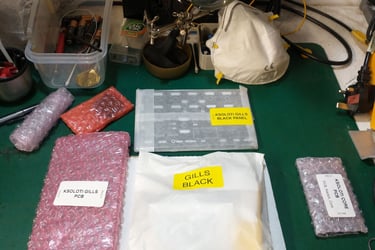
Other pictures show the separate bags of components that are inside the two main bags.
The unlabelled ones contain the Oled display and the CV expander board.
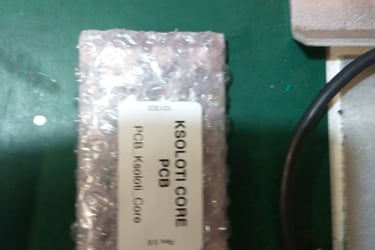
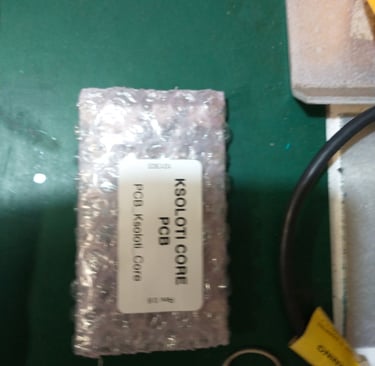

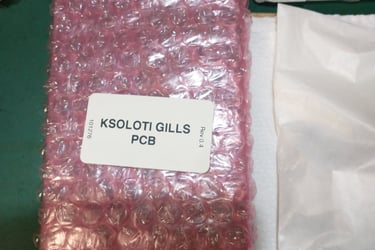
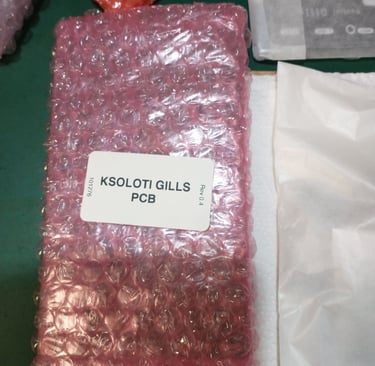

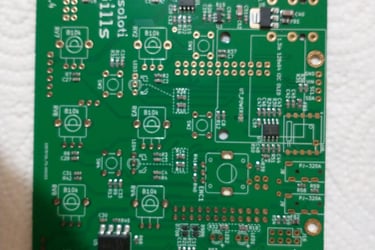
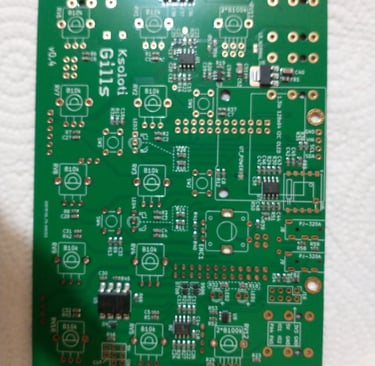
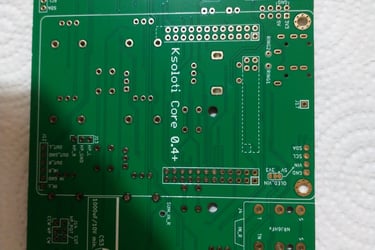
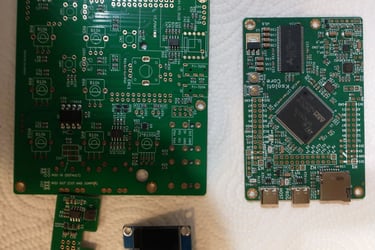
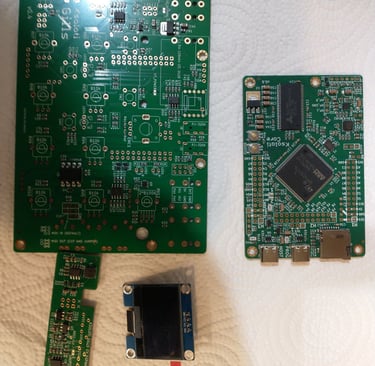
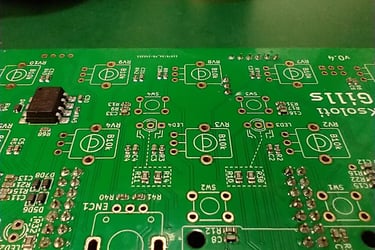
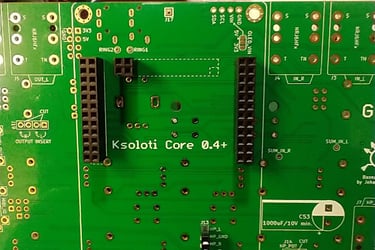
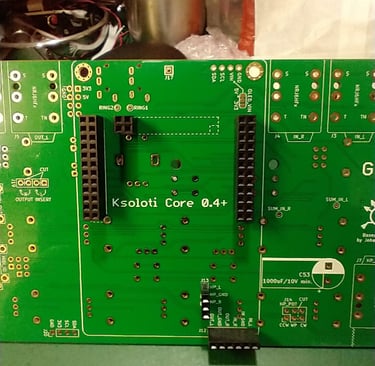
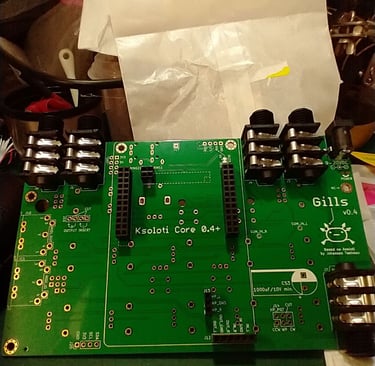
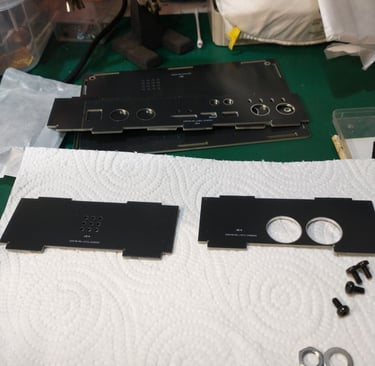
The boards
Four boards:
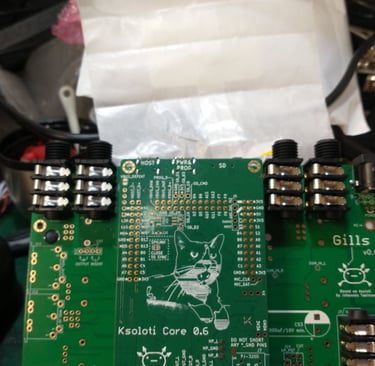
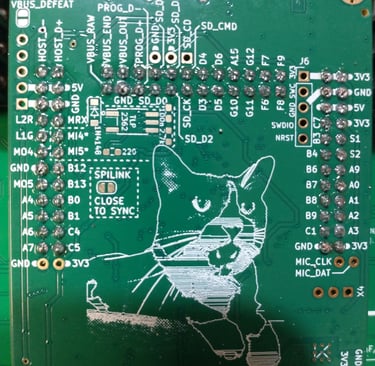
The Gills board both sides.
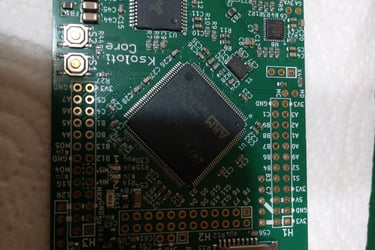
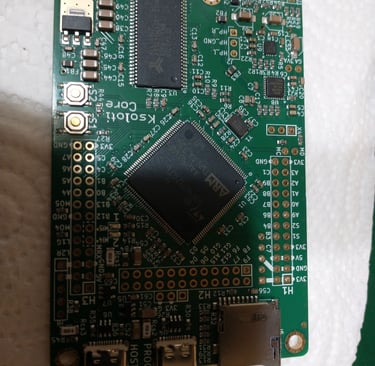
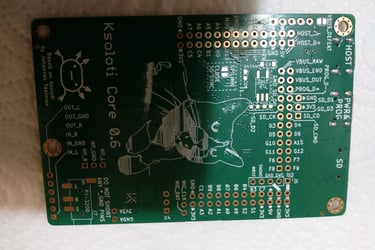
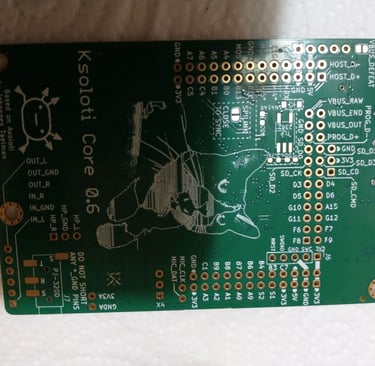
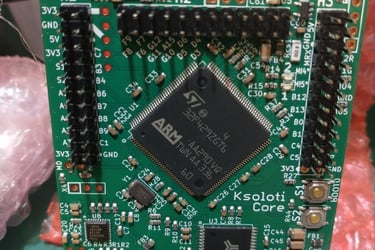
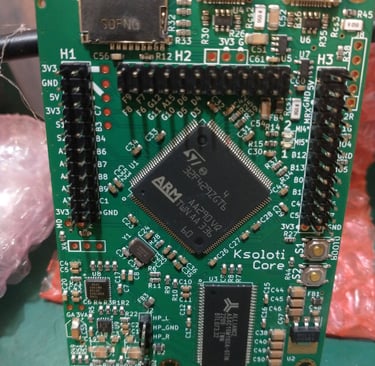
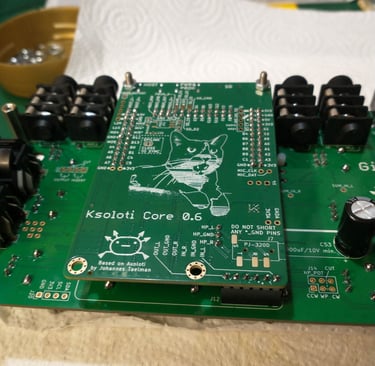
The Ksoloti board both sides.
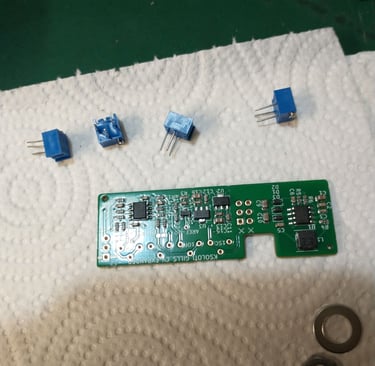
All of the boards showing the Oled and CV expander boards.

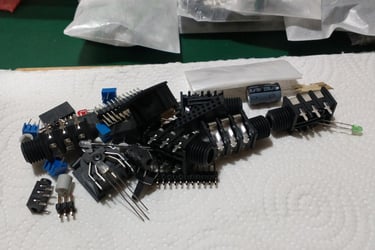
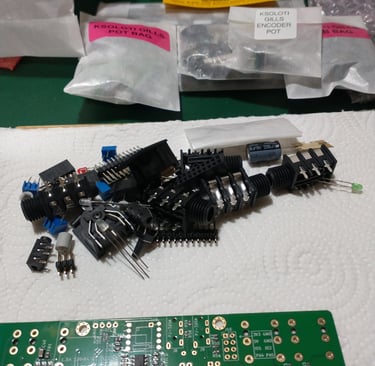
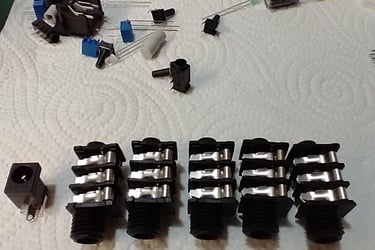
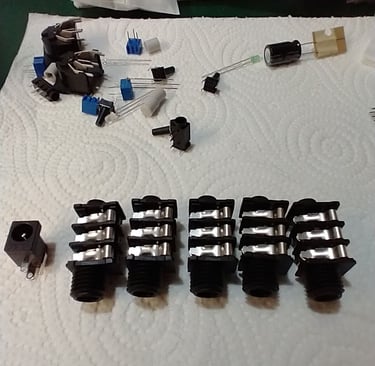
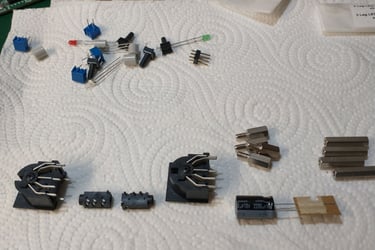
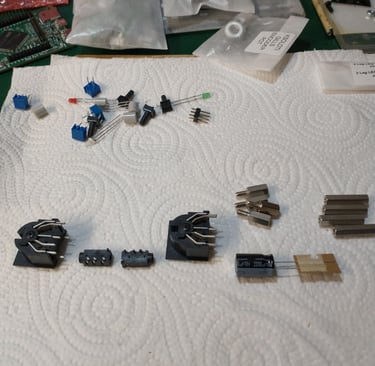
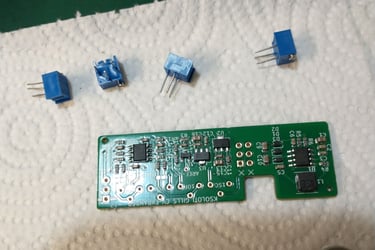
Tipping out the Gills components
Tipping out the mess of through-hole components for the Gills PCB (Also includes headers for Ksoloti core board).
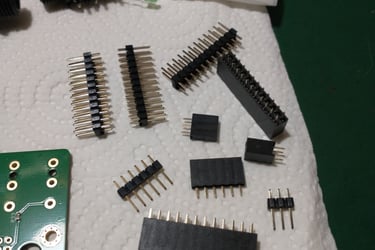
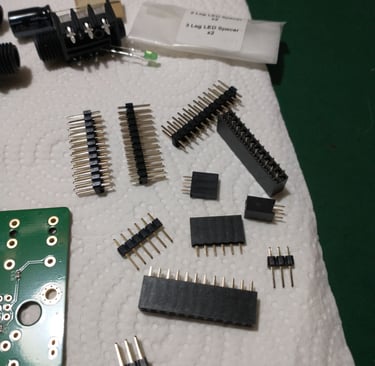
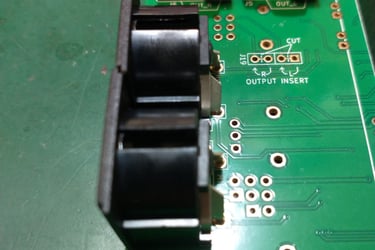
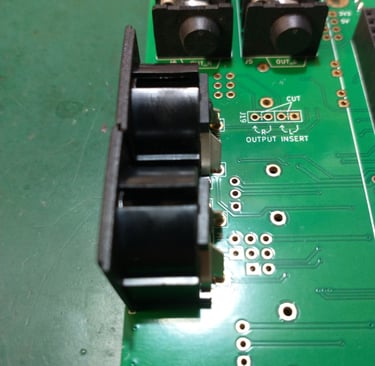
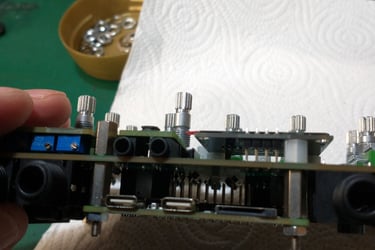
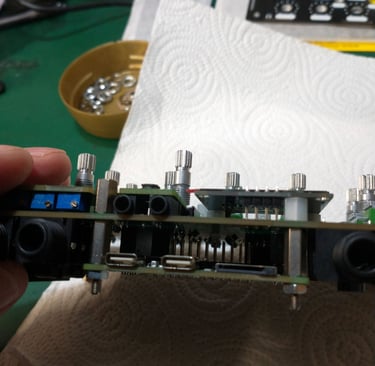
Fitting the headers and header sockets and 6.35 mm sockets.
Fairly easy. Do the header sockets on the Gills first and make sure you get them as straight as possible. Then do the header pins on the Ksoloti core. Note, its good to insert the header pins into the sockets on the Gills board and then place the Ksoloti board onto the pins for soldering. This keeps everything aligned (as mentioned in the Gills build guide).
Make sure that the 6.35 mm sockets are seated correctly. I had to apply a bit of pressure so that the plastic locators ‘clicked’ down into the board holes.

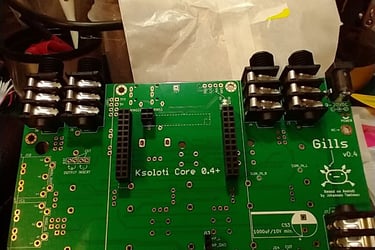
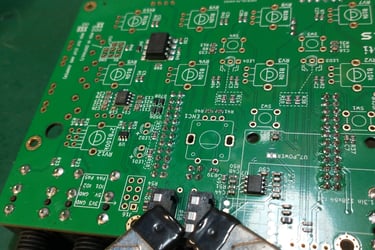
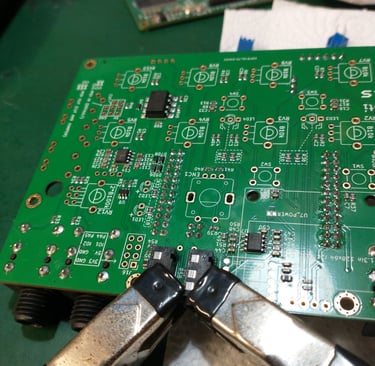
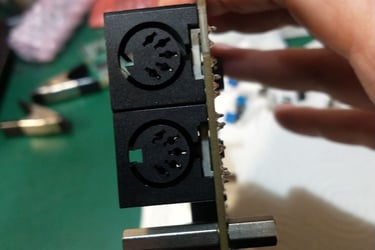
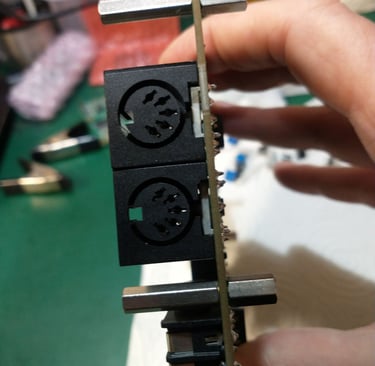
Fitting the other bits: midi sockets, 3.5 mm sockets and capacitor (not shown).
Fairly easy. Make sure that the 3.5 mm sockets sit down correctly. I used some mini clamps to hold them down for soldering.

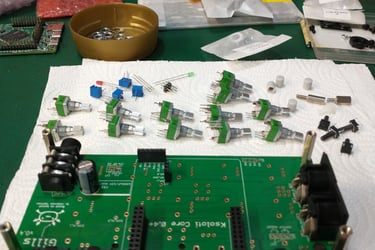
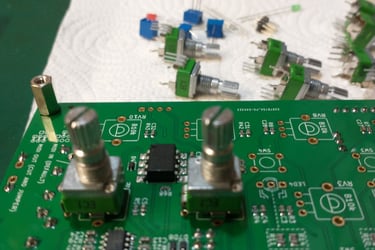
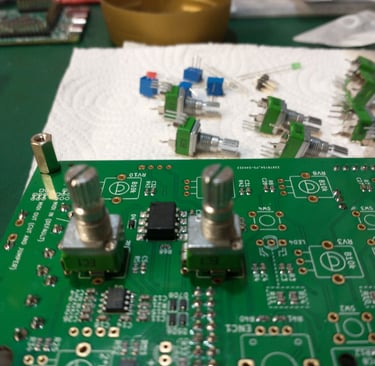
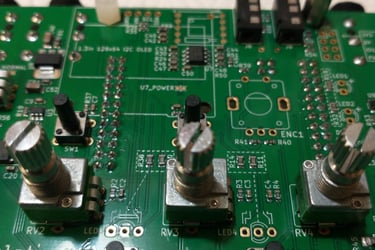
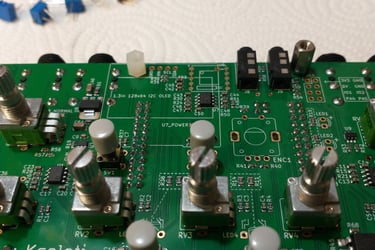
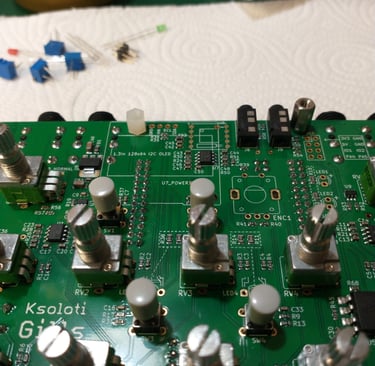
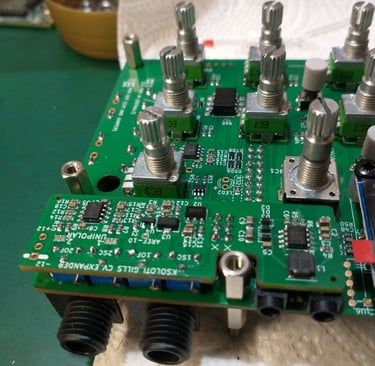
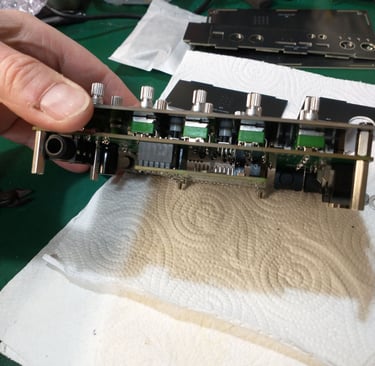
Fitting pots and switches and alignment (encoder not shown).
Fitting the pots was OK. Make sure that the pots and switches are seated correctly prior to soldering. Its a good idea to fit the components and then temporarily affix the front panel to align the components prior to soldering.


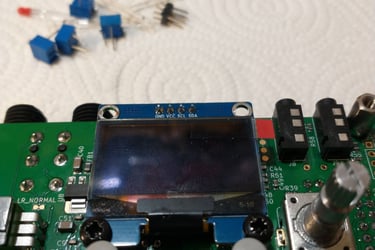
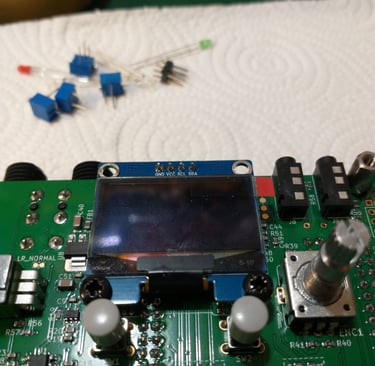
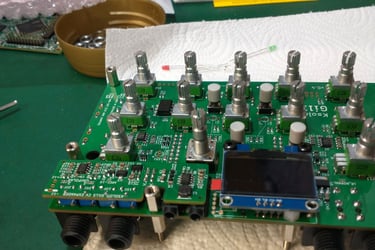
Building and placing the Oled display.
The Oled display only requires the header to be soldered. Stand-offs are fitted and make the alignment relatively straightforward.
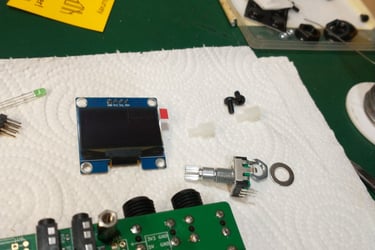
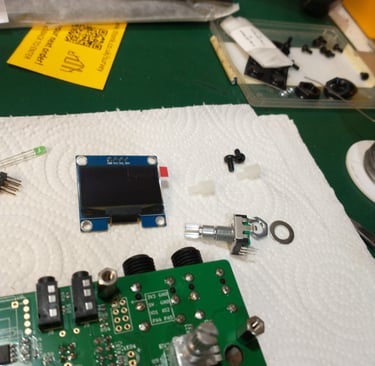

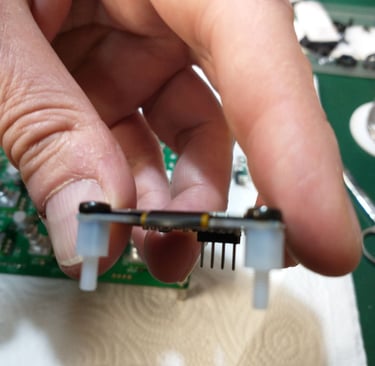
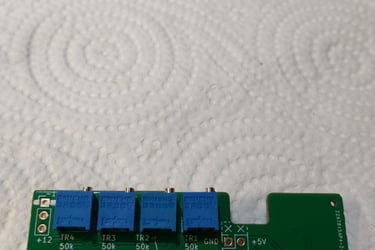
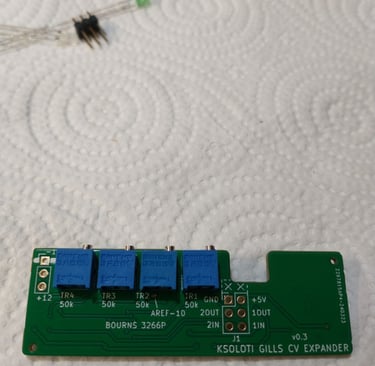
Building and placing the CV expander.
The CV expander requires four trimmer pots and the header pins to be soldered to it. Make sure that the trimmer pots are aligned correctly. I found it a bit tricky to align the CV expander board when soldering it to the Gills board. I ended up just soldering one pin on the header, and then re-flowing the pin whilst moving the board around to align it. When I thought it was aligned, I soldered the remaining pins. In future I’d make a spacer / jig up just for soldering this part.
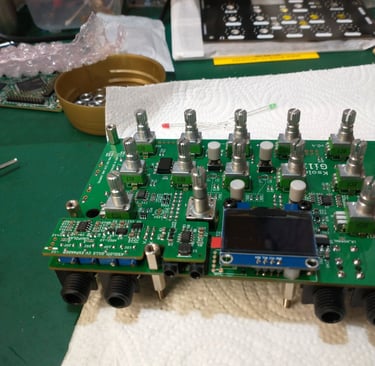
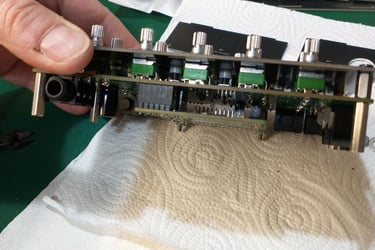
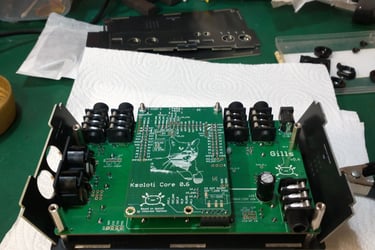
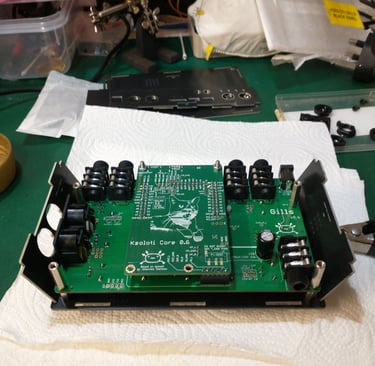
Placing the Ksoloti core onto the Gills board.
No explanation really needed here. Make sure that all the pins are aligned correctly before pushing the board home.
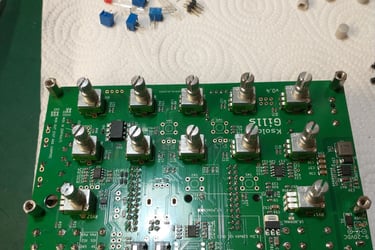
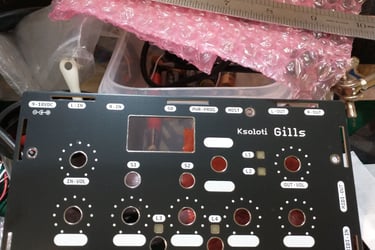
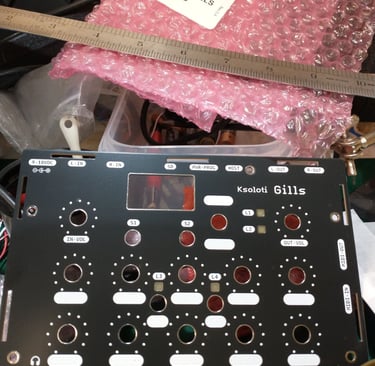
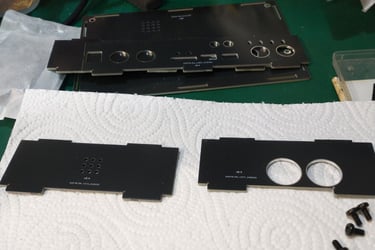
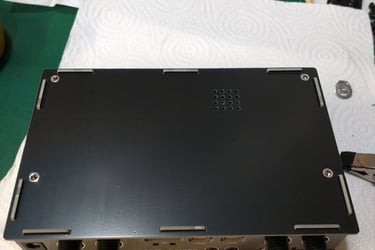
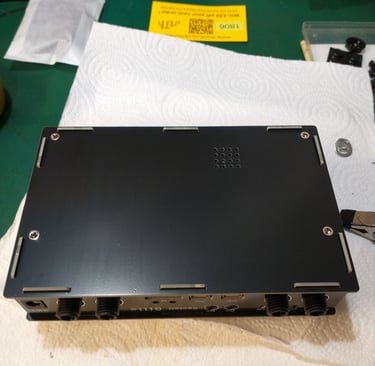
Build the enclosure.
The enclosure consists of a front panel, back panel and side panels.
All panels seem to be made of PCB material, and the side panels slot into cutouts in the front and back panels. Construction seemed to be pretty straightforward.
Nuts for the pots and the pot knobs were placed at the end.
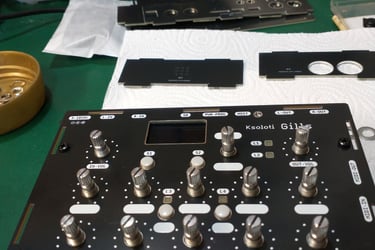
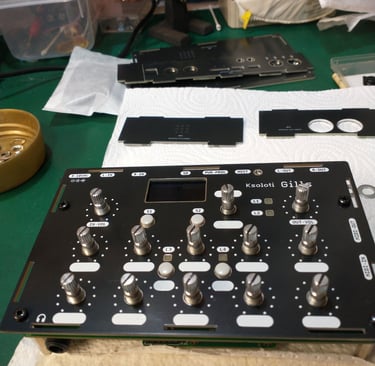

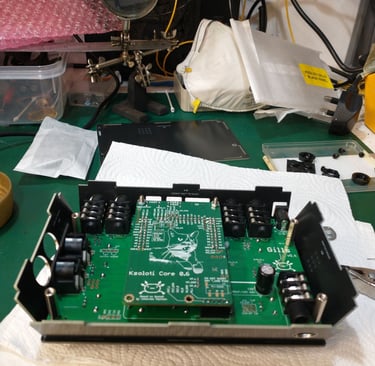
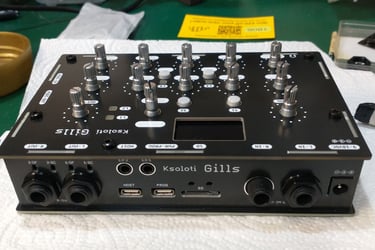
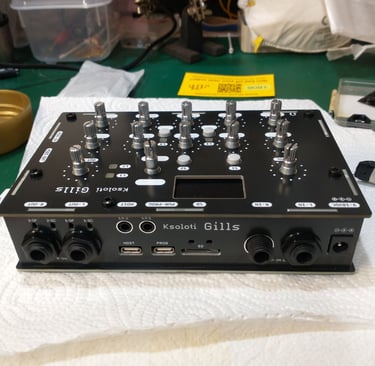
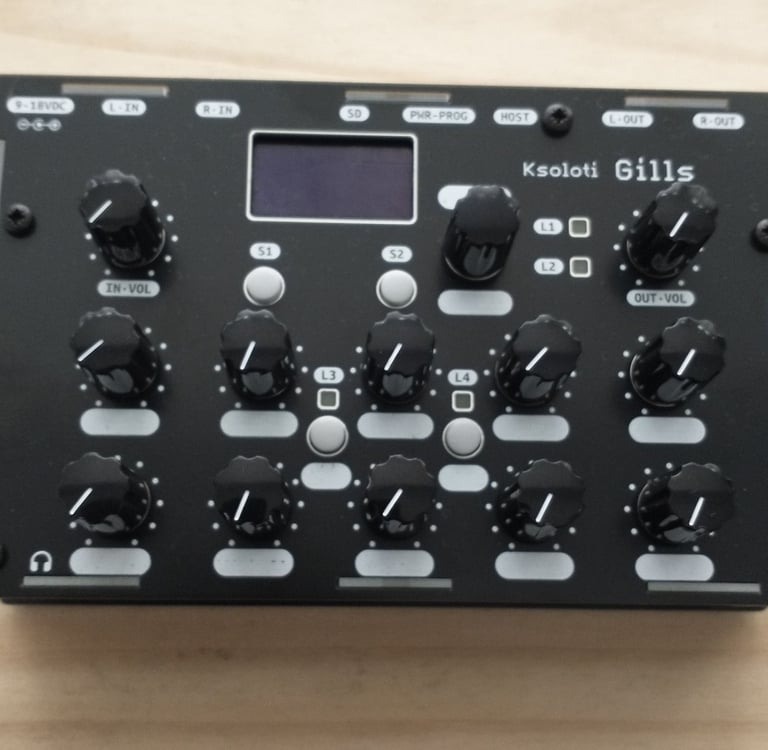
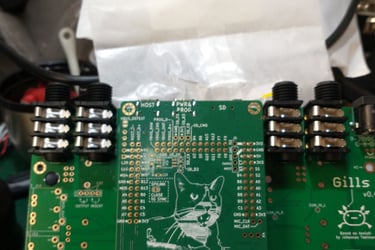
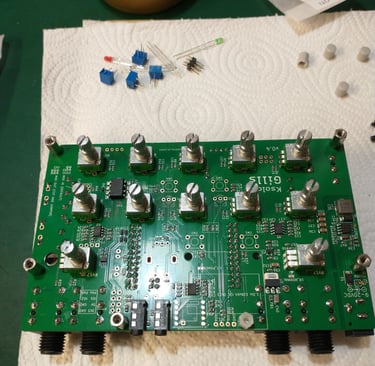
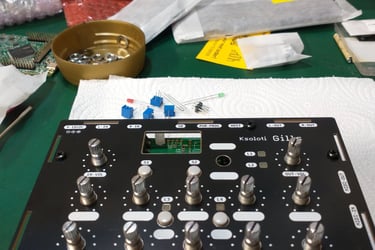
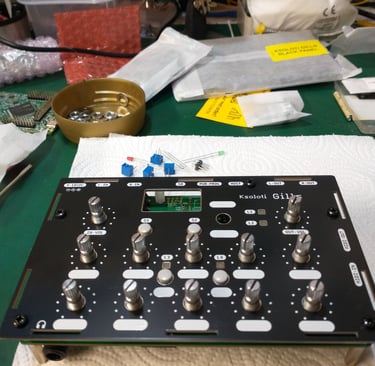
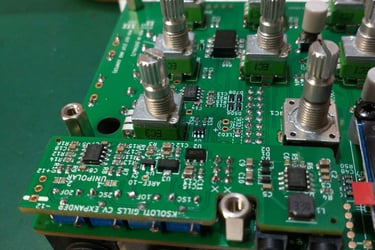
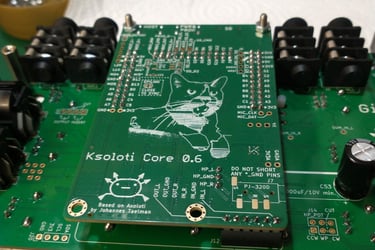
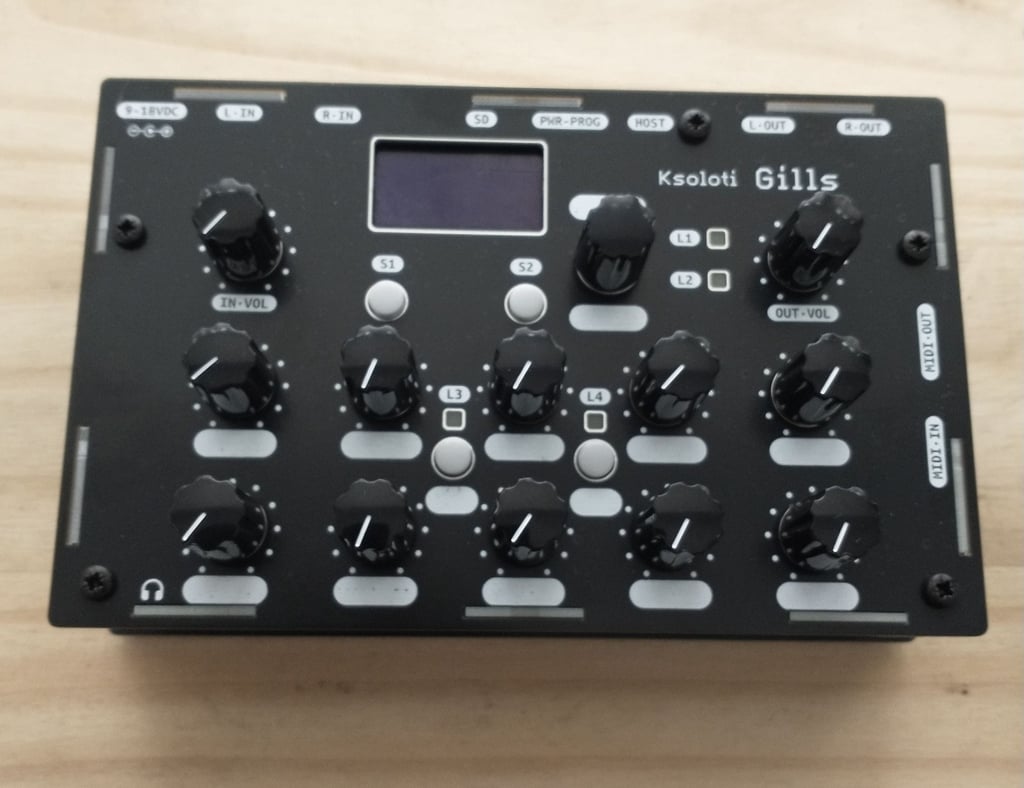
Build finished …. and final product.
So to conclude. The build went very well with no real problems, the delivery was excellent. Thanks to both Thonk and Ksoloti.
Initial Test
I haven't used the Gills ‘in anger’ yet, but I did connect it up to my PC to update the firmware and try our a few of the demos on the Ksoloti patcher software. It seemed to work first time without problems, and I managed to get a few sounds and sequences out of it.
Finally…….
My Dog (one of the original TailBiterz) helped me immensely by barking at my workshop door and wanting to play ball about every ten minutes or so.
When I get the chance ill try and put some videos up somewhere to show the operation. Sorry I haven't done it yet, but I have other metaphorical fish to fry.


Help me proceed with anything on this site.
If you like what I'm doing, please feel free to support me and keep this site alive.